Commercial Photography Explained
We’ve all been left bedazzled by those glossy photographs that adorn magazines and catalogs. But what makes these images stand out? We surely cannot replicate the results with our smartphones, or even DSLR cameras, so clearly there’s something more to it.
Photography for commercial purposes is different from regular photography in that the photographer also has some understanding of marketing concepts, and how his work can help the business to generate revenue. Investing in good commercial photography is an excellent way to attract more attention to your service or product, whether it be for online promotions, or offline ones.
Here are some tips to keep in mind if you intend to invest into commercial photography…
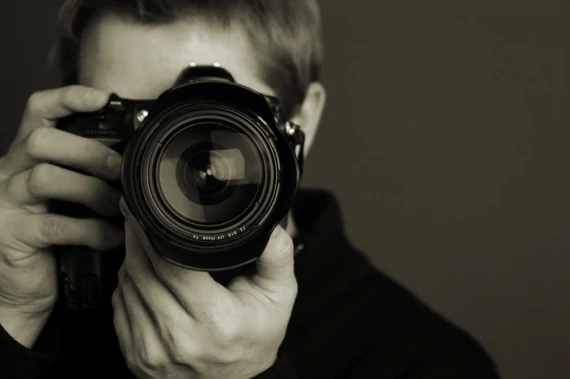
Invest in the Right Photography Equipment
There’s a good reason why smartphone cameras can no longer work when we want absolutely top-notch results. First off, you are stuck with one lens, so there’s no way to explore different perspectives. Red eye effects are also a very common problem with smartphone cameras. Professional grade DSLR cameras can also zoom in on the subject; that’s right, your regular smartphone camera doesn’t really zoom in when you pinch the screen as much as it simply expands one portion of the image which leads to loss in clarity.
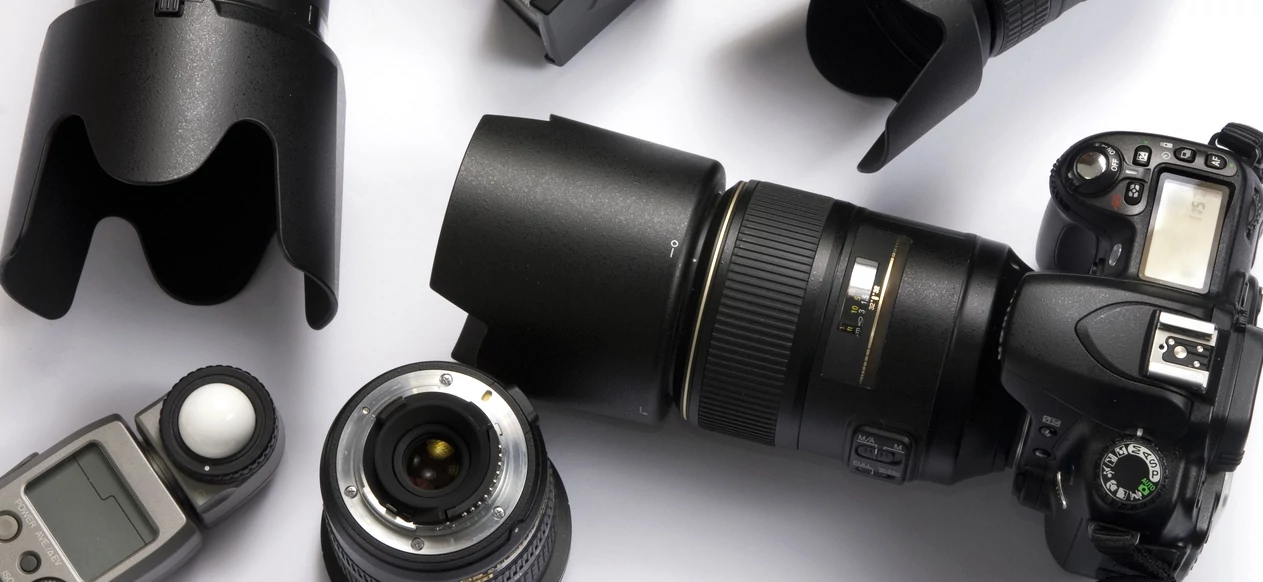
A DSLR (Digital Single Lens Reflex) camera is what you should invest in here. These will come with detachable lens, and let you control almost every variable ranging from ISO, exposure, f-stop etc. Learning how to fully utilize a DSLR camera will require some time as there is a lot that you can do with it!
A few tips on how to use a DSLR camera for commercial (particularly product) photography…
- Don’t use a wide angle lens as it can distort the image.
- A higher f-stop of around f8 to f11 is preferable as it leads to greater depth of field.
- Your white balance should be set to the same kelvin temperature as your lights.
Tips found on BigCommerce.com.
Get the Right Lighting Setup
Even if you have invested in the best camera out there, lighting can make or break the results. Since light is what’s illuminating your subject, controlling it is important as it determines the tone, mood, how bright or how dark the final image is.
White backdrops are the most common when taking product shots. You can construct a simple lightbox to shoot your photographs in. Pro tip: while illuminating the subject properly is key, consider directing the light at the backdrop as well since doing so can dramatically increase the quality of your photographs.
How you position the light will also have a great effect on how the subject appears. Having the light source behind the camera will present the subject in a flat way. Lighting from the side can highlight the product better as it produces shadows that detail the contours. Lighting from the back of the subject can give it a more dramatic effect.
You can also shape the light if needed. Adding a diffuser to your light source will soften the light and reduce glare. Typically, an umbrella, scrim or softbox are used as diffusers. Light can be also be further manipulated with reflectors set around the subject. The camera’s white balance should also be set manually in order to get the best effect possible.
Final Editing Tools
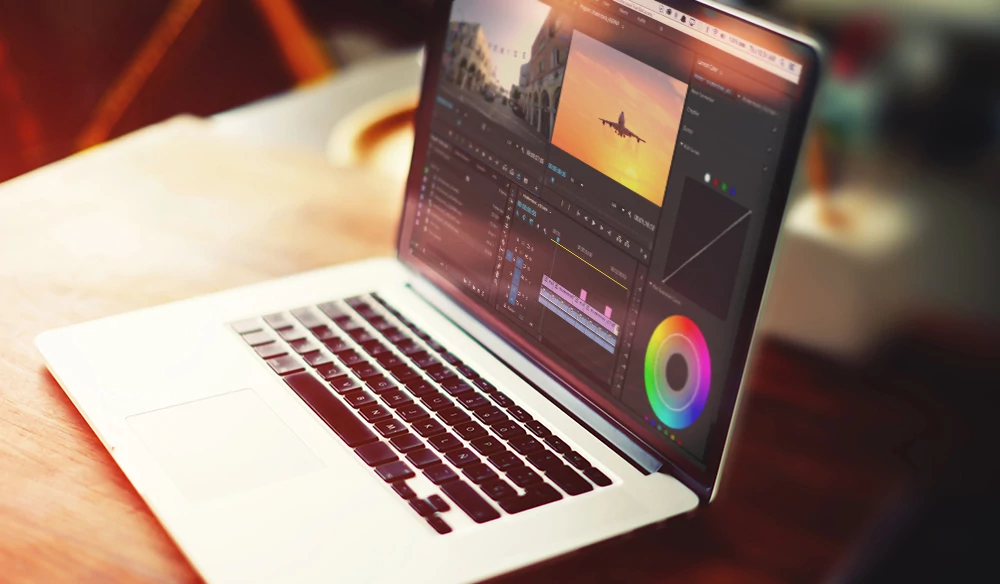
Finally, when you have done everything to get the perfect shot, your photographs will still need to be “touched up” in order get the best result. Adobe Lightroom, Photoshop and Phase One’s Capture One are great tools that can help you take the results to the next level. Here’s a complete list of photography software.
There’s really no one way to take the perfect photograph. Many photographers will spend a lot of time taking many shots from many different angles and different conditions to find the best one. You are encouraged to study famous photography websites and blogs such as Fstoppers, Petapixel and CreativeLive Blog are all great resources for beginners.